Teleporter Arch
Requires the Experience “Experience Bethani” or an Active RLV Relay.
Copy
Modify
Transfer
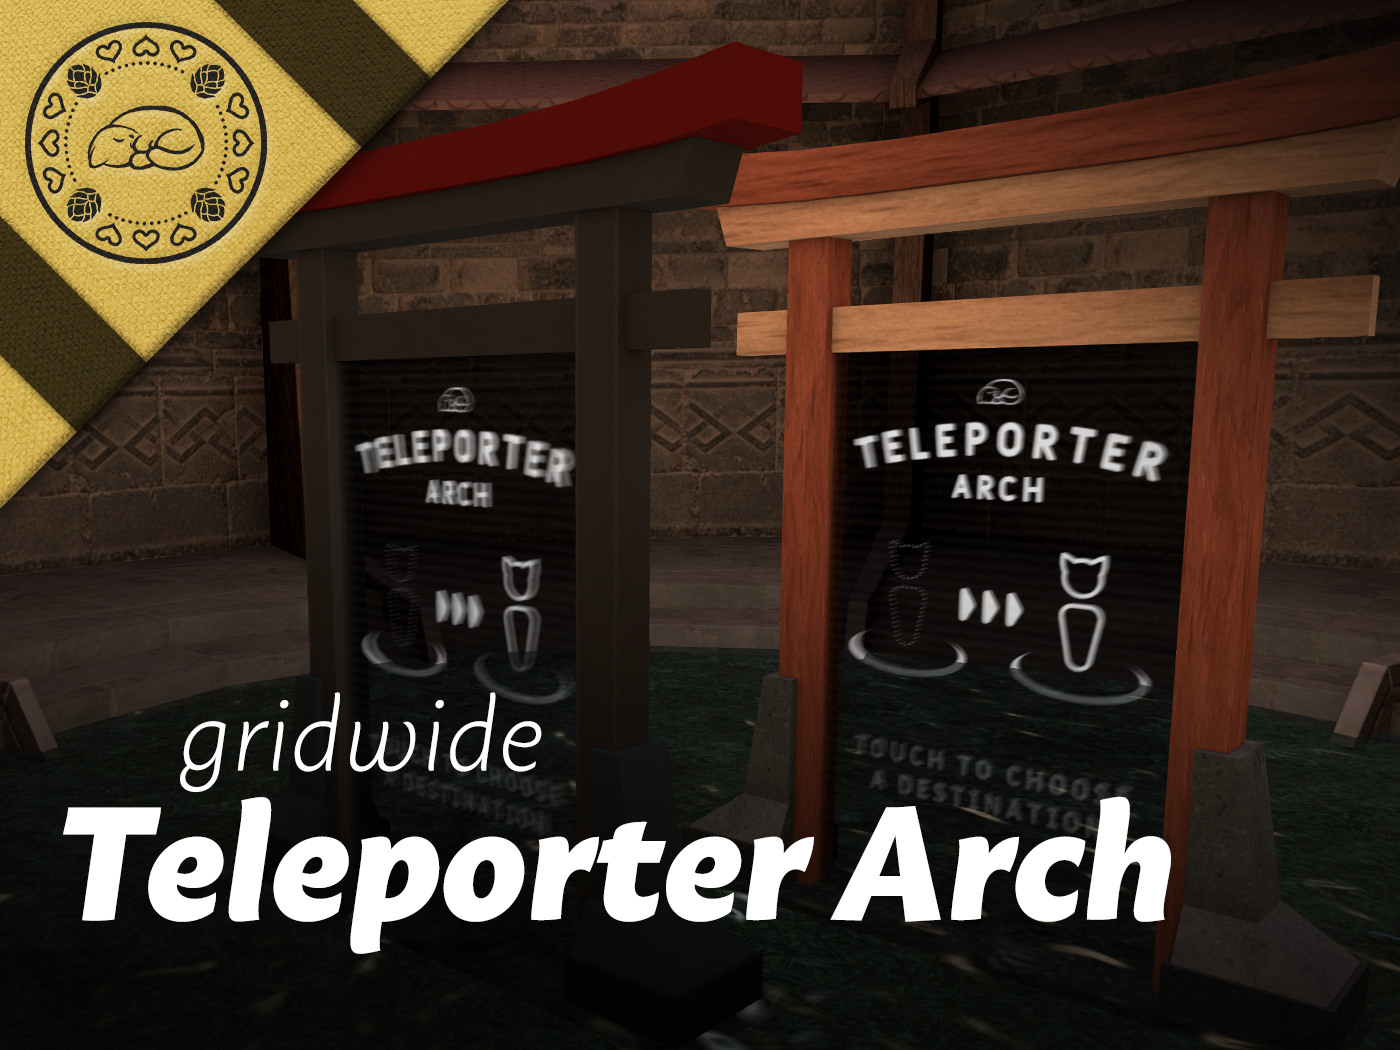
Not sure quite how to connect different parts of your sim, or connect to other sims? May we suggest our sleek, Japanese-inspired, multi-location arch. Set it to one destination to use as a doorway or load it up with myriad of options for possible destinations. You can even flag each destination as public, group, or private! :3
Key Features
- Custom mesh gate weighing in at 2 land impact
- Dual functionality: experience driven with an RLV-based fall back
- Can contain multiple landmarks with privacy settings
- Scripts are no-mod
Package Contents
- Teleporter Arch – Wood
- Teleporter Arch – Metal
- UV Map Texture File – Full Perm
- AO Texture File – Full Perm
- Instruction Notecard and Store Landmark
User Guide
1. General Information:
If you want to use the experience you need to have parcel permissions or get your landlord to allow “Experience Bethani” on their land.
Each landmark is meant to be assigned it’s own image. Take a screenshot of the area and you can use any image editing program to make it 1024px by 768px for uploading to Second Life.
2. Adding Location(s):
Start by right-clicking the object and choosing Edit
- Click on the Content tab
- Drag in the landmark(s) you want the gate to go to
- Configure the notecard for each landmark (see 2.2)
3.1 Basic Notecard Configuration:
Edit the notecard in the contents of the object. For starters, these basic settings that govern the overall function of the arch:
- default (yes or no)
- yes – instead of showing the ‘title card’ shows the first landmark in the list
- no – shows the titlecard
- menu (yes or no)
- yes – enables a location selection menu on touch (make sure to have this setting enabled if default is set to no)
- no – nothing happens on touch
3.2 Location Configuration:
Locations are read by the script and inserted into the table, make sure each location has the following information, separated by a | symbol:
- l (lowercase L) – this is the location prefix so the script puts it in the right table
- Landmark Name – must match the name of the landmark, but keep it short if you use the menu.
- Look at Pos – this determines where you’ll be facing after teleporting (only works if teleporting somewhere in the same sim)
- Security Level – determines who can see this landmark
- 0 – public
- 1 – group and authorized users
- 2 – authorized users only
- Texture UUID – the UUID of the texture you want displayed for this landmark (ratio 4:3)
l|landmark-name|look-at-pos|secure-level|texture-uuid
3.3 Access Configuration:
There are two kinds of lists that govern access, an authorized list and a block list. The authorized list allows you to identify specific individuals who should have access to your private landmarks. The block list is for adding individuals you don’t want using the gate at all.
Each list entry needs the following:
- a or b (lowercase A or B) – this is the prefix for authorized or blocked
- User’s UUID – you can find this on their profile
- Name – the script doesn’t actually need this, but you might to identify the UUIDs
a|user-uuid|label-name
b|user-uuid|label-name
To take advantage of the group access setting, set the appropriate group on the General tab of the Build menu.